 For the Red and White Quilt Challenge Make It challenge I am going to do a tutorial on how to put in a little piping for a decorative touch.
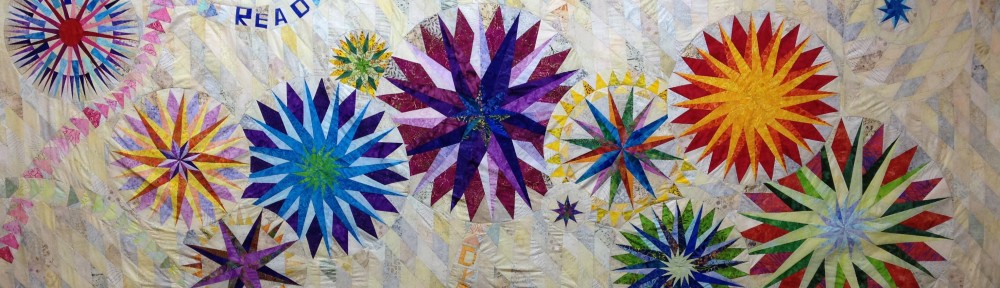
I have been working on a Fire Island Hosta by Judy Niemeyer now since late May/early June. I have to say I did not think that making a red and white quilt would be so difficult–creating depth, contrast, and visual interest has been hard! One thing that I looked at was the “clamshell” part of the design–I needed to find a way to set it off. It was getting to be a little too much red-white-red-white-red-white-red-well, you get the idea. I solicited some input from friends with no real consensus.
I was wrestling with the process when a friend, Judy, suggested I put in a little piping. I was using a paper pieced block in this quilt so will explain this like a person who would be doing just that.
To begin you need to cut several strips of fabric on the bias. In my case I used 1 1/2″ strips of red. To make that bias strip I took a length of fabric (a rectangle) and folded a corner of it down so it formed a triangle and then used my regular ruler and mat to cut the strips. This makes your strips have a “stretch” to them.  I wanted it to have enough fabric to “cover the curve” on the corner so I pinned a strip on the front of NY Beauty portion of the block with a bit of a tail hanging over.
  I then sewed a 1/2 inch from the edge of the block. This will give me a 1/4 inch of color on the edge of my block.Once sew on I ironed it over. This is the critical part for keeping the same sized block.
  There are three major steps to this.
First, trim that corner keeping the same angle of the block. Second, trim the newly added fabric to the edge of the original block.
 Third, you need to trim the edge of the block so that when you sew on the next part of the block it isn’t too thick. Flip the 1/2″ strip of fabric back.
 Trim the excess off to just inside the 1/4 inch of the original block.
 Once all trimmed up, iron the piping back down.
 After putting on the piping I sewed the next section of the block on and I press it to create the least amount of fabric thickness. **You will notice the clamshell already has piping in it–I used the sew and cut lines on the paper piecing papers to place the red stripes in it before sewing the clamshell and NY Beauty blocks together.***
First, press the back.
 Then, I press the front.
  I then placed the block in it’s space on the design board. This will work to create a little visual interest.


